Ok all this is my very first tutorial ever....so let me know how I do:-) I was poking around on pinterest and found an adorable idea for a homemade bike basket....but I didn't have all the materials it called for and I thought to myself.....an ice cream bucket!!! Or half to be more precise. So I found an old ice cream pail and cut it in half the best I could and made a basket for my second eldest's bike.
So you start with some remnants of fabric (I use left over fabric from other projects), half an ice cream pail, ribbon, a hot glue gun and embellishments ie. buttons, rick rack...that kind of thing.
* Remember to use double thickness for your fabric or you will just end up having to cut another piece the same size.
Place your half on a piece of fabric (doubled) and trim around the rounded bottom. Trim straight up the sides allowing room at the top to turn down for a hem. You should have two pieces of fabric that look like a square with a half circle fused to it.
Next cut two strips of fabric that are as tall as the bucket and as long as the edges. (Again make sure you have two of these strips.)
Now glue the fabric to the front of the basket leaving ends to overlap on the inside sides. Glue all along the top edge and along the bottom.
Glue the overlapping edges on the insides of the basket.
Glue the rounded edge to the bottom of the basket. Trim close to the glue line after the bottom is securely attached.
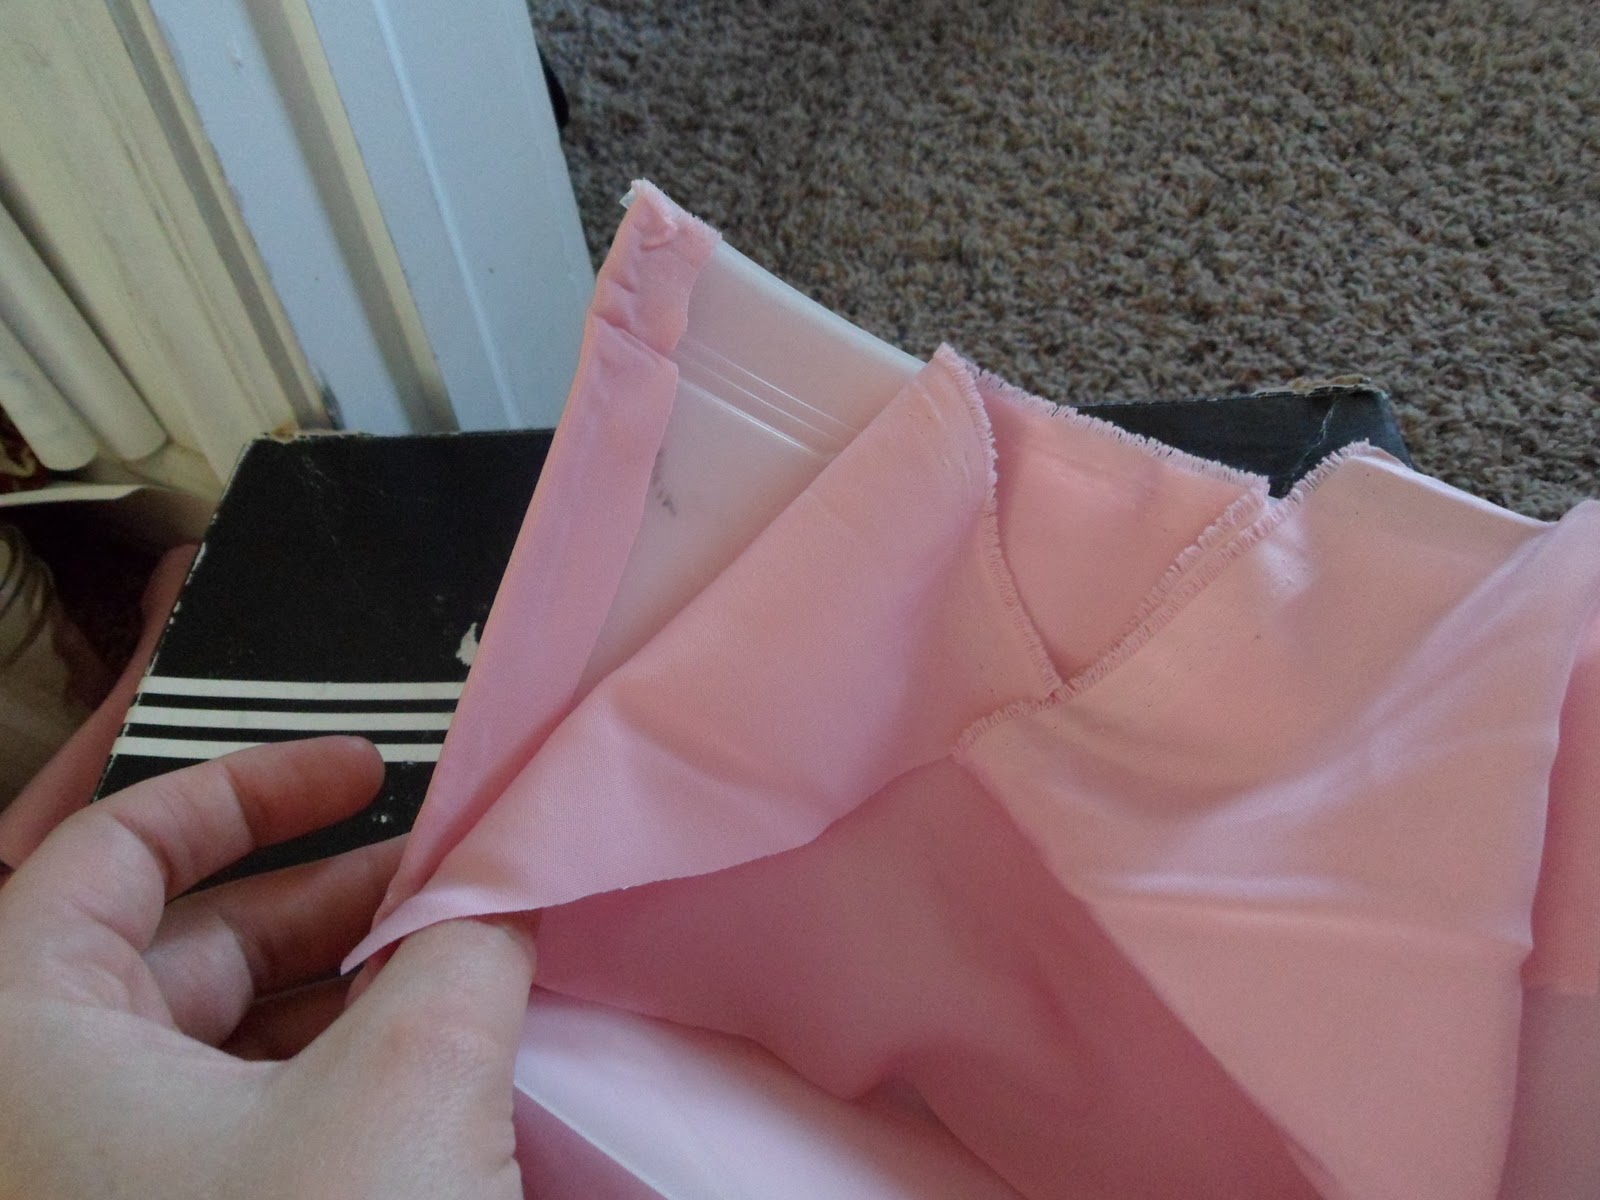
Glue the interior fabric to the interior of the basket. Tuck the fabric over to make two pleats to fit.
Glue the interior bottom piece onto the inside of the bottom. Glue the interior and exterior fabric together to make a glued hem at the top. Make sure the hem matches the top edges of the back side of your basket. Attach edges of back of basket to sides with glue.
Glue ribbon along the top edge; it won't fit perfectly and with ruffle a little as you glue (I personally like the way that looks:-)
Glue another length of ribbon along the sides (and I did the bottom too just because I liked how it looked) to cover the raw edge of your fabric.
Cut two lengths of ribbon; these will be your connectors to the bike. Make sure that they are long enough to tie either a regular knot onto the front bar of the handlebars or if you like you can make them long enough to tie a bow (I just did a knot I thought it was cuter). Fold each ribbon in half and glue on the inside of the fold, pinch it in half (as shown above) and glue on the interior of that fold as well.
Now connect the ribbon at the corner of the back in the crease with a large amount of glue; remember this is your connector so you want it good and sturdy.
Now all that's left is embellishing it! Be creative, use anything you have around that you might think will dress it up a little. I love rick rack, buttons, tulle, fake flowers....really anything that is girly cause you know a little girl is going to want the most frilly basket imaginable. I'm sure I'll do a boyish version when my son gets older. So that's it....let me know if you enjoyed the tutorial or if you have any questions.
And here is my little sweetie with her new bike basket (and her adorable pink cast, she's so tough)